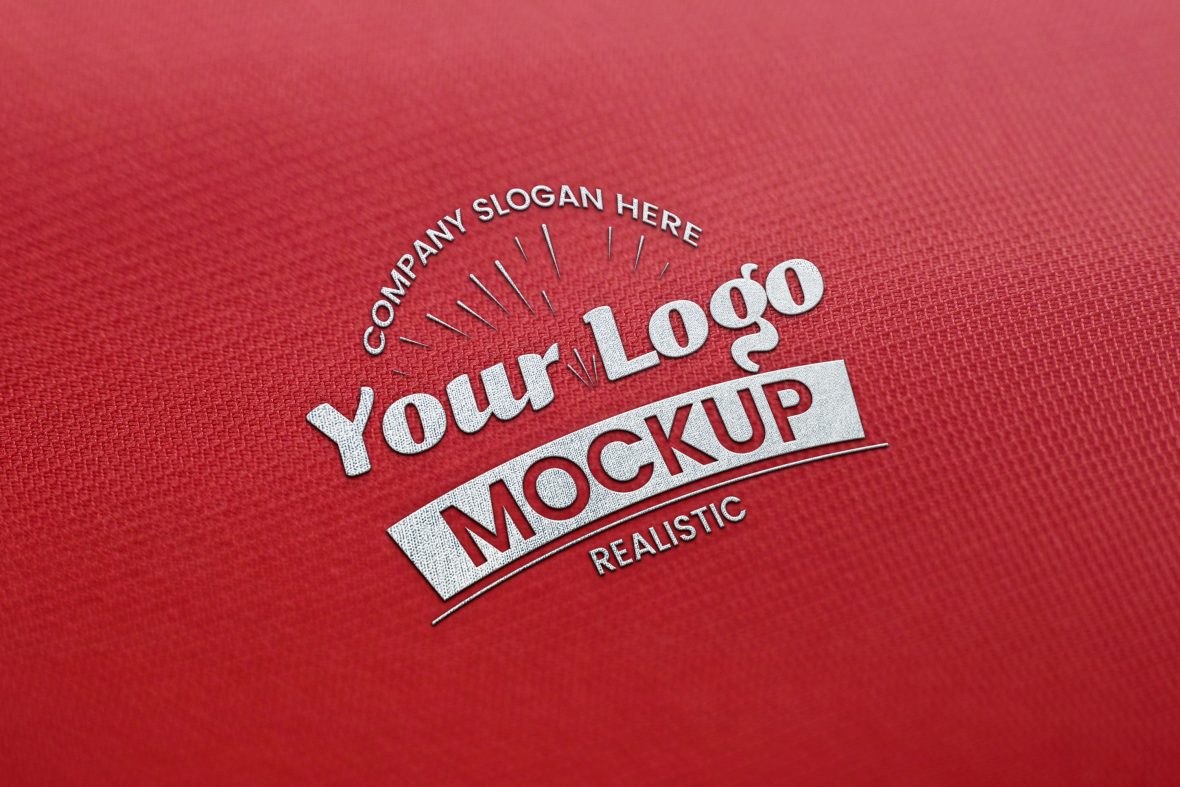
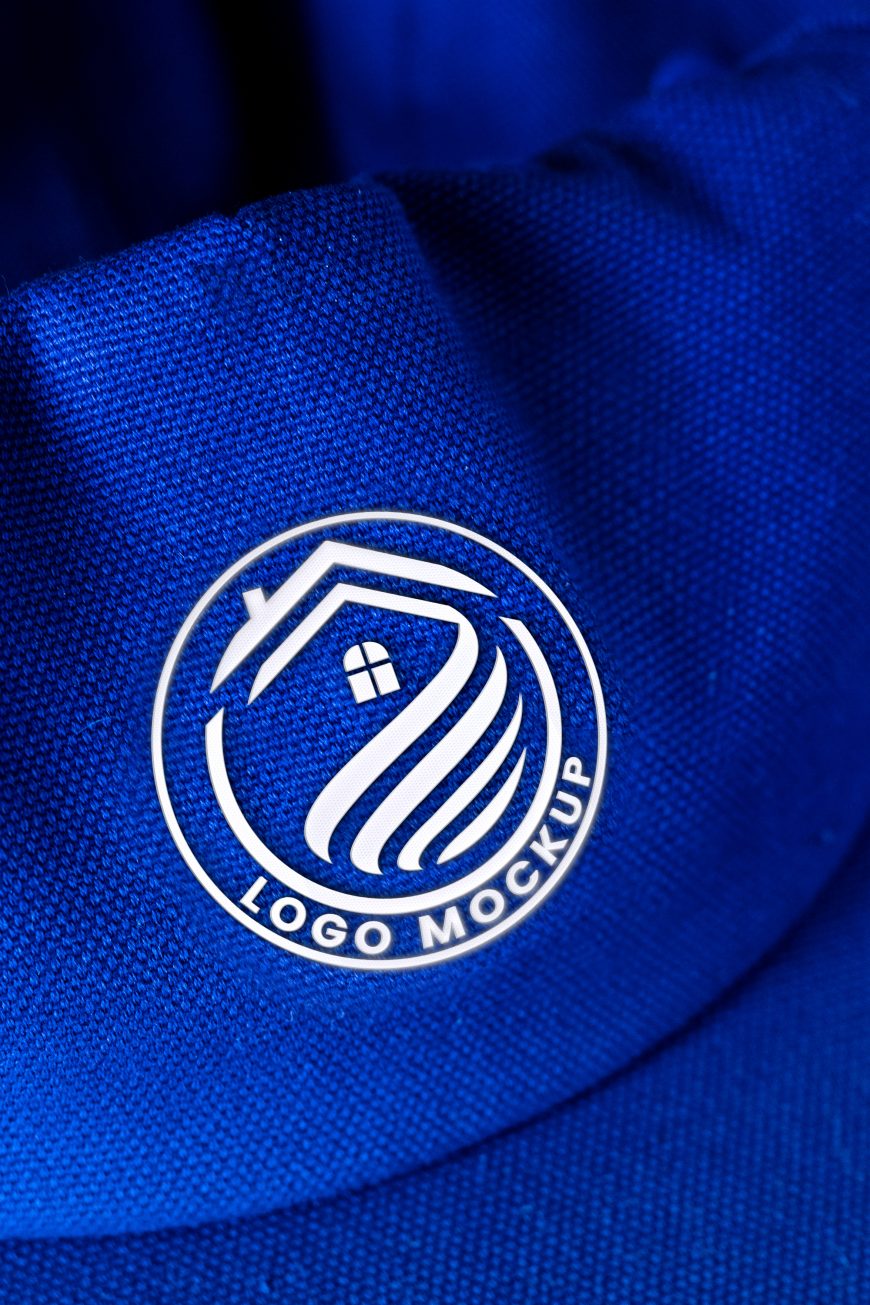
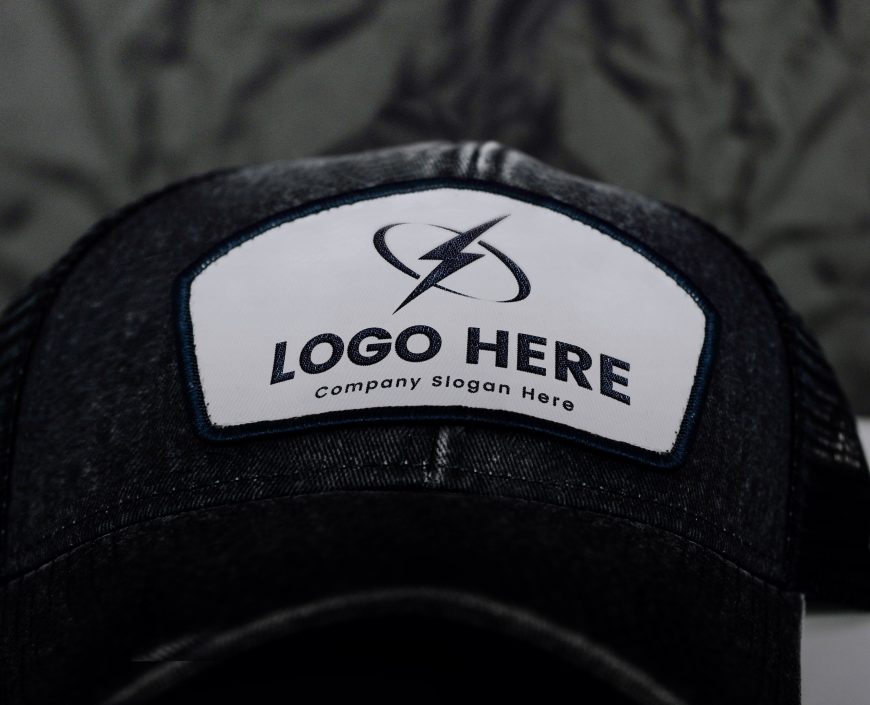
Realistic Logo Mockup on Red Fabric Texture
Enhance your brand with a realistic logo mockup on red fabric texture!
Realistic Logo Mockup on Red Fabric Texture + TUTORIAL
Make your logo stand out with a realistic mockup on red fabric texture.
Are you looking to create a realistic logo mockup on a red fabric texture in Adobe Photoshop? Look no further! In this tutorial, we will walk you through the steps to create a professional and eye-catching logo mockup using Adobe Photoshop.
First, open Adobe Photoshop and create a new document. You can do this by going to File > New or by using the keyboard shortcut Ctrl + N. Set the dimensions of the document to your desired size, keeping in mind the dimensions of your logo.
Next, find or create an image of a red fabric texture to use as the background for your mockup. You can search for high-resolution fabric textures online or create your own by taking a photo of red fabric and editing it in Photoshop. Once you have your fabric texture image, import it into your document by going to File > Place or by dragging and dropping the image into your document.
With your fabric texture as the background, it’s time to add your logo to the mockup. If your logo is already a high-resolution image, simply import it into the document by going to File > Place or by dragging and dropping the image into your document. If your logo is not a high-resolution image, you will need to vectorize it first. You can do this by using the “Image Trace” feature in Adobe Illustrator or by using a free online vectorization tool such as VectorMagic.
Once your logo is imported into the document, you can resize and position it as desired on top of the fabric texture. You can use the “Free Transform” tool (Ctrl + T) to resize and rotate the logo, or use the “Move” tool (V) to position it.
To add more realism to your mockup, you can use the “Layer Styles” menu to apply drop shadows, outer glows, and other effects to your logo. To access the “Layer Styles” menu, right-click on your logo layer and select “Blending Options.” From here, you can experiment with different effects to see what works best for your mockup.
Finally, save your mockup by going to File > Save or by using the keyboard shortcut Ctrl + S. Choose a file format that supports high-resolution images, such as TIFF or PSD, to ensure that your mockup maintains its quality when printed or shared online.
And there you have it! With just a few simple steps, you can create a realistic logo mockup on a red fabric texture using Adobe Photoshop. Whether you’re a professional designer or just starting out, this tutorial should give you the tools you need to create stunning and professional logo mockups.
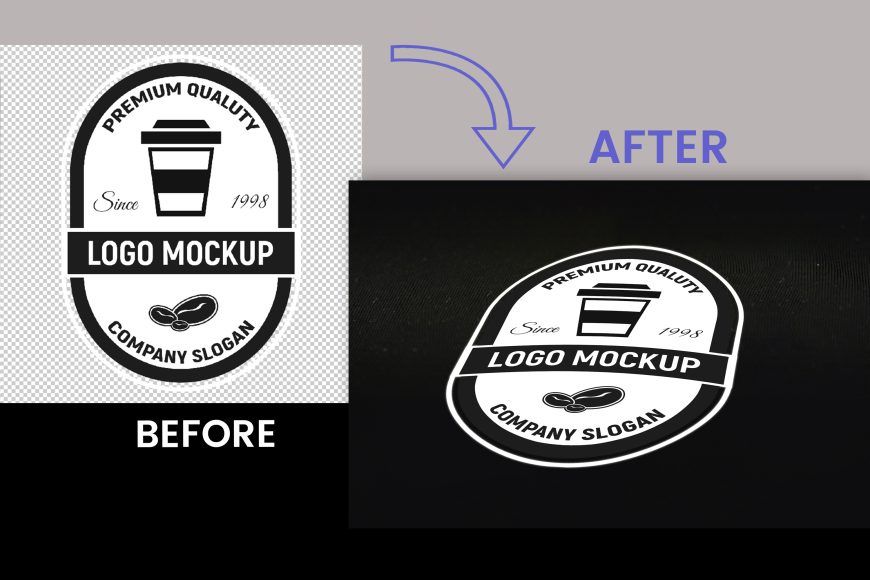
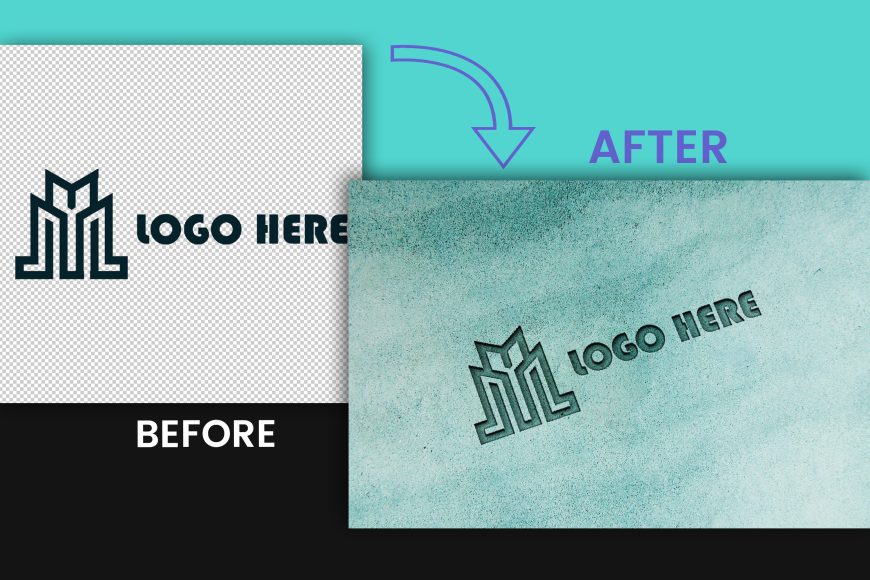
How to use the mockup .PSD file:
1. Download the free .zip file from GraphicsFamily page and unzip it in a folder.
2. Double click the .PSD source file
3. Locate the layer named [YOUR LOGO HERE] and double click it to edit.
4. Drag and drop your .PNG transparent image of your design, icon or simply add a new text you wish to appear on the surface.
5. Resize and center the design and save the smart layer.
6. Your design is now appearing on the surface and you can export the design by clicking: CTRL+ALT+SHIFT+S
Good luck with sales and happy clients!
Realistic Logo Mockup on Red Fabric Texture Features:
– 100% Customizable.
– High Quality
– Fully Layered Mockup Template.
– .PSD (Source File)
Download
1418 downloads

